Install Sitecore via SIM (Sitecore Instance Manager)
Table of Contents
- Introduction
- Sitecore Instance Manager Useful Links
- Sitecore Instance Manager Main Features
- Pre-Requirements for SIM Install
- Setup Sitecore Instance Manager - SIM
- Conclusion
Introduction
Installing Sitecore becomes easier by using Sitecore Instance Manager. This article will describe how to use SIM to install a default Sitecore 8 site. Before we start, the following are a few links about SIM.
Sitecore Instance Manager Useful Links
-
Download SIM
-
URL for ClickOnce SIM product — go here to download SIM on your PC.
-
Sitecore Marketplace - SIM
-
Sitecore Marketplace link about SIM
-
GitHub - SIM
-
SIM is open source and hosted on GitHub.
SIM provides great features, such as installing new Sitecore instances, backing up Sitecore websites, and installing SQL Database and MongoDB. All these features make Sitecore developers more productive.
Sitecore Instance Manager Main Features
List Sitecore websites installed locally and their modules Install new Sitecore standalone product Install Sitecore modules and packages Download Sitecore products from SDN and DEV Back up Sitecore websites, and restore them Export Sitecore website and import it on a remote computer
Pre-Requirements for SIM Install
Although SIM is open source, Sitecore is not and is not cheap. Also, a Sitecore instance is not easy to obtain. You'll have to be a certified Sitecore Developer, and then you can download it from SDN, the Sitecore Developer Network site.
-
Sitecore Instance
- In this example, we use Sitecore 8.2. The example file name looks like
this:
Sitecore 8.2 rev. 170614.zip. Again, if you're a certified Sitecore developer, you can download it from SDN.
- In this example, we use Sitecore 8.2. The example file name looks like
this:
-
Sitecore License
- You have to purchase a license from Sitecore. I don't think
Sitecore provides a trial license. The license file name looks like this:
license.xml
- You have to purchase a license from Sitecore. I don't think
Sitecore provides a trial license. The license file name looks like this:
-
SQL Server
- You'll need SQL Server. In this blog example, I'm using SQL Server Version 12.0.4237.0.
-
MongoDB
- You don't have to install MongoDB before SIM installation. You can use SIM to download and install MongoDB.
-
IIS Manager
- You'll need this since Sitecore is a web application. SIM will create the site, application pool, and update the Windows host file once you use Sitecore Instance Manager to create the site.
Also, this blog sample OS is Windows 10. SIM and Sitecore are not supported on Mac or Linux, and I'm not sure if they plan to support them in the future. However, SQL Server 2017 supports Linux, .NET Core is cross-platform, so something might happen with Sitecore too.
Setup Sitecore Instance Manager - SIM
Download SIM via ClickOnce
Download SIM via ClickOnce at here.
At this point, December 2017, the latest version is 1.5.
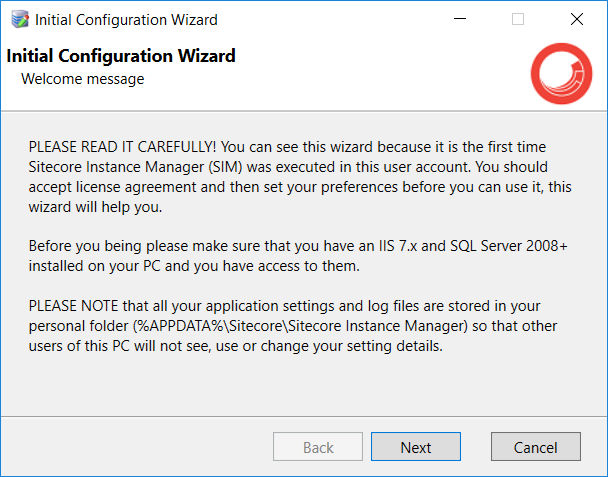
Start SIM Installation Wizard
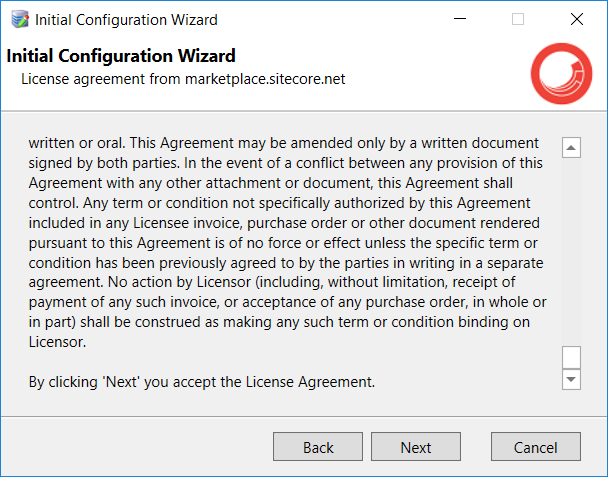
Just click Next through the first few License Agreement or information screens.
Instance Root Folder
The Instances Root folder is where you want your Sitecore instance to be
stored. This folder will be your IIS site folder, so make sure your folder
has the appropriate permissions for NetworkService.

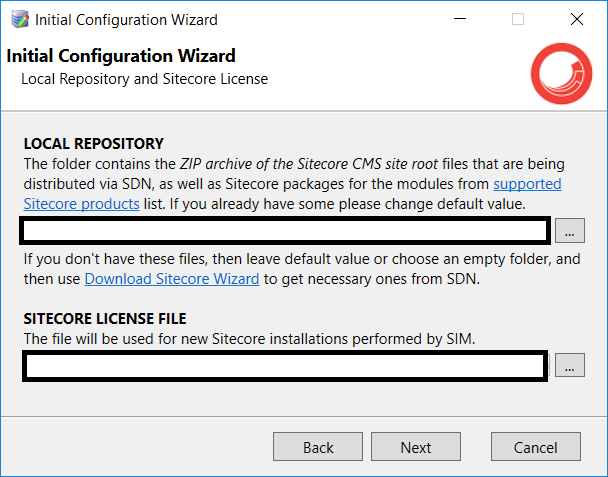
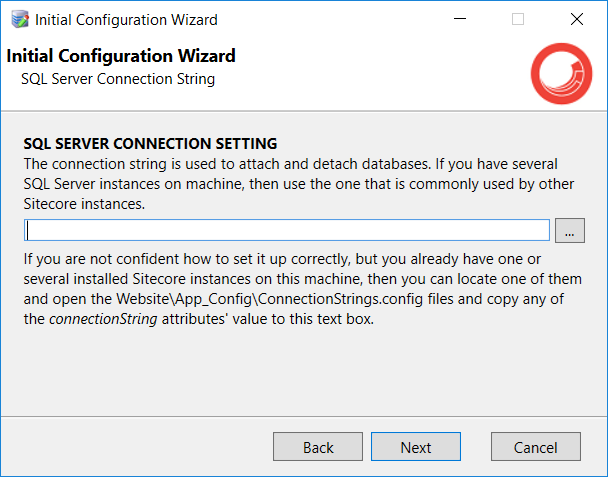
Local Repository is the location that contains the Sitecore zip file,
Sitecore 8.2 rev. 170614.zip for instance. The Sitecore License
file is the path to the Sitecore license.
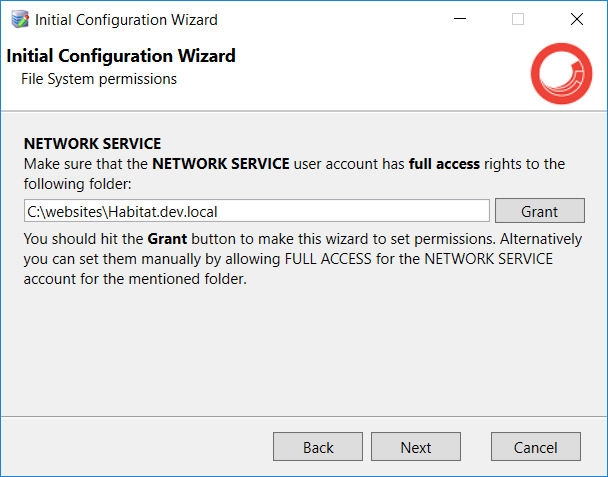
Make sure the Sitecore IIS site folder has permission for the Network Service account.
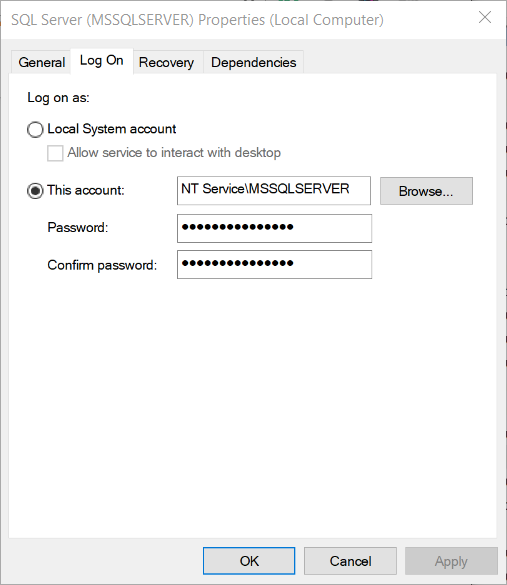
Enter the SQL Server Name, SQL User Name, and SQL User Password. By default, the Windows service uses the SQL Server account NT SERVICE\MSSQLSERVER. Change the SQL Server (MSSQLSERVER) Windows service to use the Network Service account.

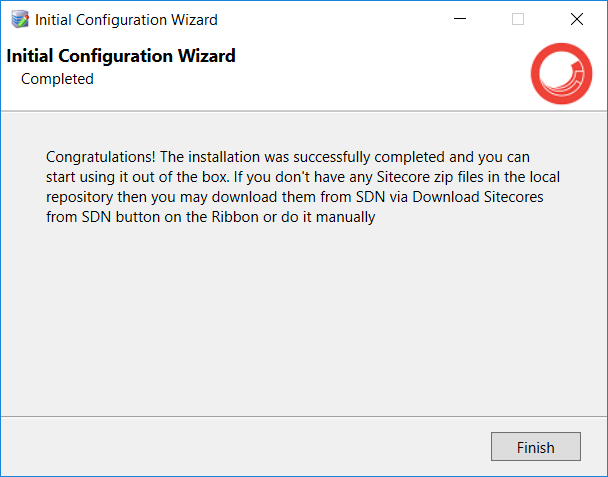
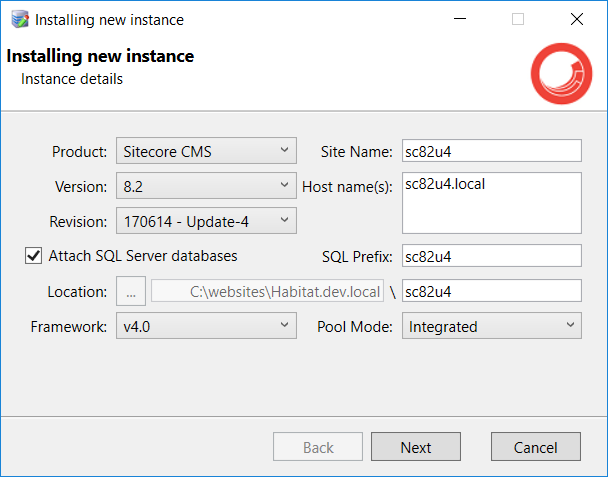
After SIM is installed successfully, launch it and click "Install new instance." By clicking the Next button, SIM will create the new site, new SQL database, new MongoDB database, and add the hostname to the host file.

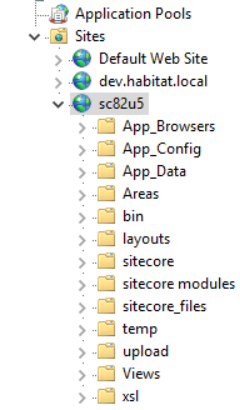
The IIS site SIM generated:
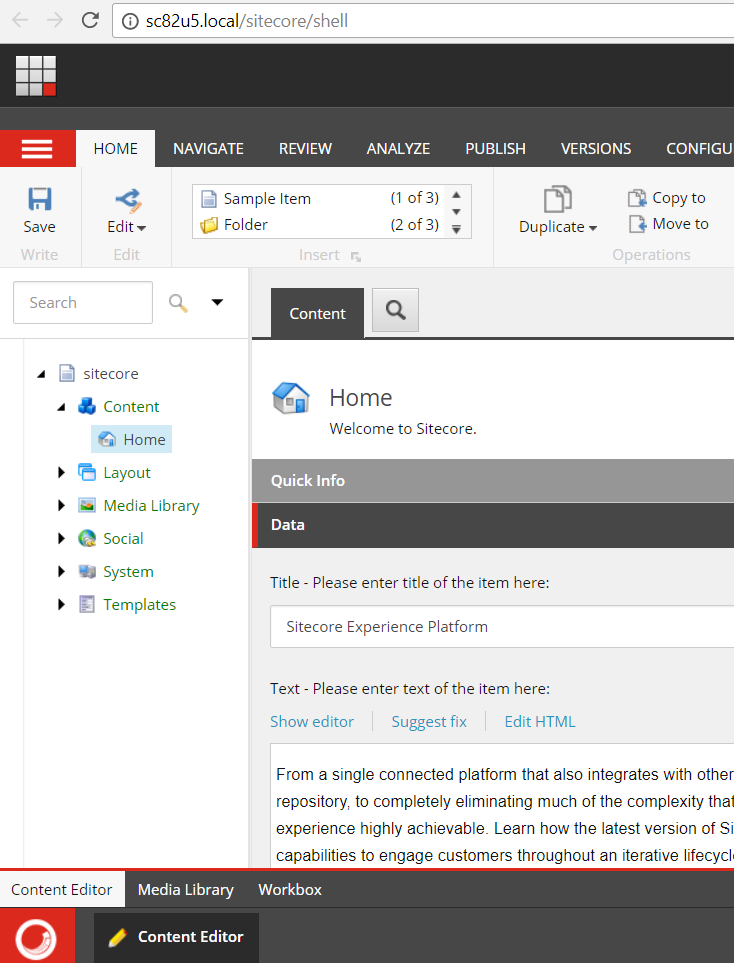
The default Sitecore site:

Sitecore Admin site:
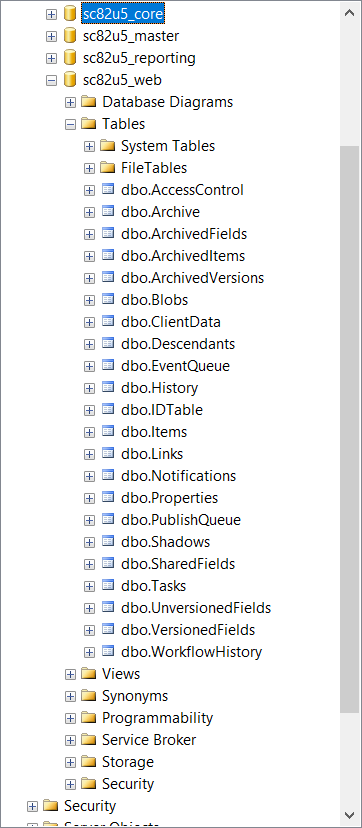
Sitecore Database:
Other Info
-
SIM log location
- %AppData%\Sitecore\Sitecore Instance Manager
-
SIM Release Schedule
Conclusion
Sitecore Instance Manager is very powerful and makes it easy to set up a Sitecore development environment. If all the required resources are already in place, you can launch a site within minutes. SIM will create the site, application pool, and database for you. Additionally, SIM has backup and delete features that make your Sitecore development life easier.