How to Deploy Node.js App to the AWS Elastic Beanstalk
Table of Contents
- Introduction
- Create Amazon AWS Account
- Create New Application at Elastic Beanstalk
- Upload Node.js Application to Elastic Beanstalk
- Verify Node.js Application Running at AWS Elastic Beanstalk
- Conclusion
Introduction
The following shows how to deploy a Node.js app to AWS Elastic Beanstalk.
Create Amazon AWS Account
Registering for Amazon AWS is free, so the first thing you have to do is create an AWS account. You can use AWS as a free trial for up to a year.
The AWS free trial is not unlimited, so be aware of not creating too many instances of Elastic Beanstalk.
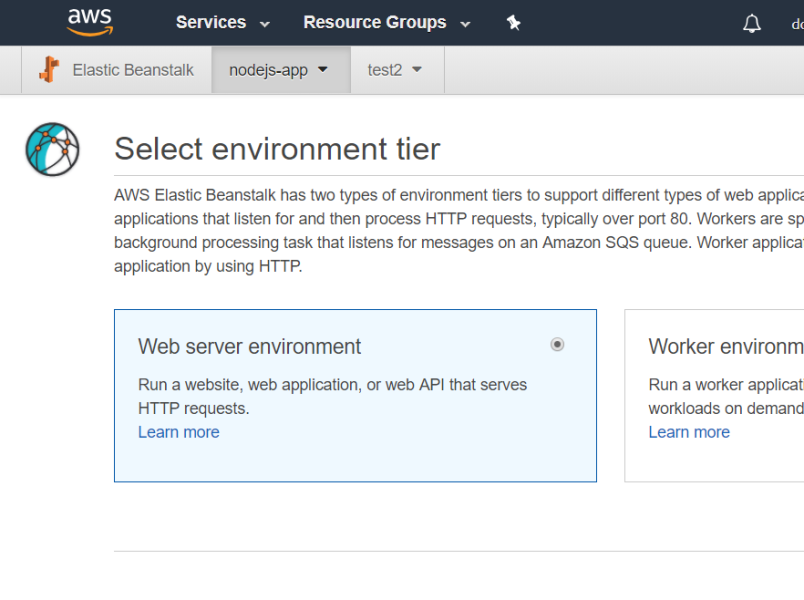
Create New Application at Elastic Beanstalk
After you have your AWS account, go to Elastic Beanstalk and create a new application.
At the Select environment tier, choose Web server environment.
At the base configuration, choose the platform as Node.js.
Upload Node.js Application to Elastic Beanstalk
You can create your own Node.js app, but in this blog I'll use the one I already created at my GitHub repo sample-aws-nodejs. For testing, you can just download the aws-deploy.zip file.
Once you upload the aws-deploy.zip to Elastic Beanstalk, AWS Elastic Beanstalk will start building the solution and deploy it to the AWS server.
nodecommand.config
The important thing for AWS Elastic Beanstalk to build and deploy your Node.js
app is the nodecommand.config file.
NodeCommand will tell AWS what command to run when you
upload your code. In my sample code, it'll run npm start.

Verify Node.js Application Running at AWS Elastic Beanstalk
Click the URL of the site. If the site is not up, go to the Logs and check the log to see what error message was logged. That'll help you troubleshoot your issue.
Conclusion
Now you know you can simply upload your Node.js app to Elastic Beanstalk and have it hosted. Elastic Beanstalk handles the provisioning, load balancing, and scaling for you, making it a straightforward way to deploy Node.js applications on AWS.