How to Use Ghost Blog CRM Platform
Table of Contents
Introduction
This blog provides basic information about how to use the Ghost Platform after installing Ghost.
Register as Admin User
First, you have to register as a user so you can go to Ghost's admin page to edit content.
Your entered email may not work right away, but you can check the following article.
How to enable Ghost Mail — it looks like you can use Mailgun, Gmail, or Amazon SES.

For setting up email to use Mailgun, first go to Mailgun to register.
Then change your config.js mail setting like the following. The user and password can be found in your Mailgun profile.
After changing config.js, don't forget to restart Ghost.
Check this article about how to set up Mailgun with Ghost.


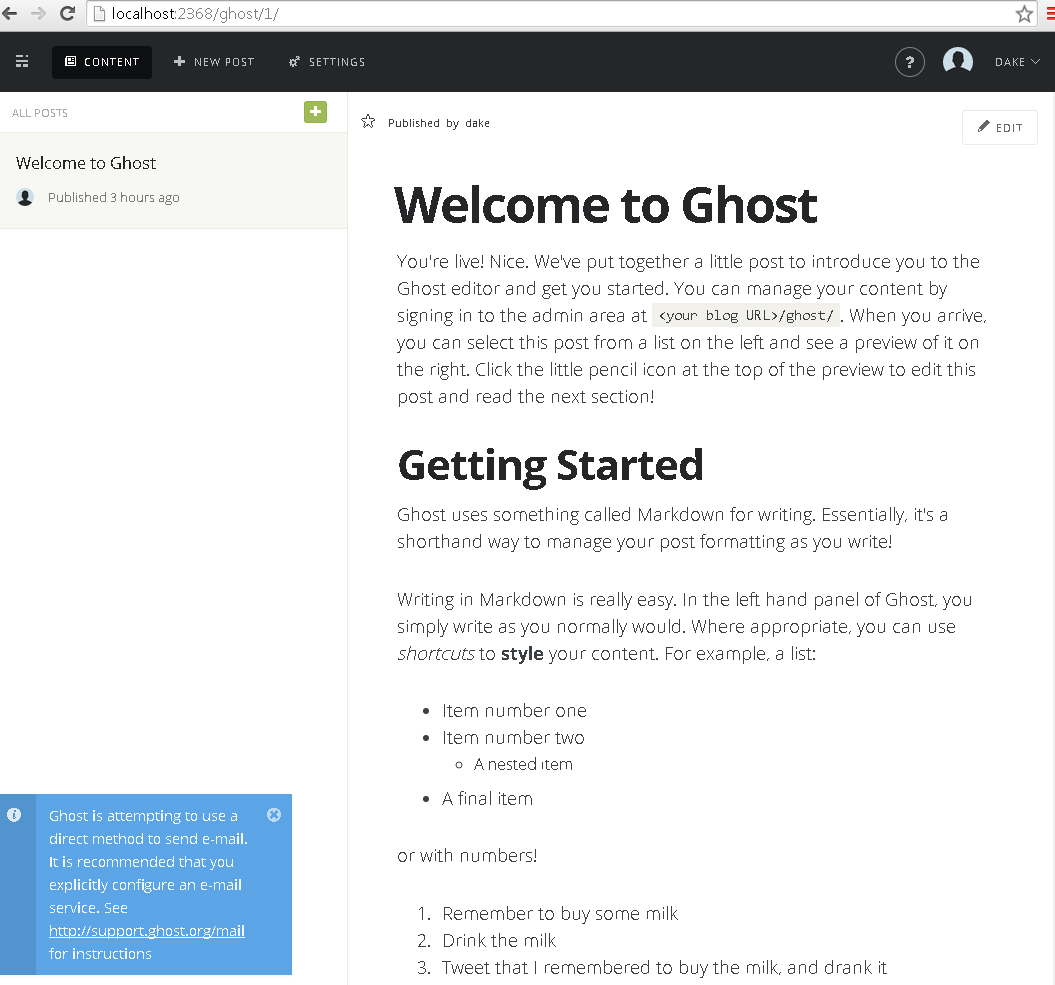
Edit Content
Once you're able to log in, it's very easy — just try to click around.
Click edit and you will go to the edit page to change the blog. All the syntax uses Markdown.
How to Host on Windows
In my case, I'm trying to host on Windows 7 by using IISNode.
I referenced this article about how to host Node.js on Windows IIS. At this point, most of the software is already installed on your PC because you were able to run the test version of Ghost. There are just a few things you need to do.
1. Install IISNode
2. Make Sure Your Ghost Directory Is Run by IUser
3. Add web.config Under the Root Folder of Your Ghost
    <!--
      See https://github.com/tjanczuk/iisnode/blob/master/src/samples/configuration/web.config for information regarding iisnode specific configuration options.
    -->
4. Change config.js Port Number to process.env.PORT
server: {
            // Host to be passed to node's `net.Server#listen()`
            host: '127.0.0.1',
            // Port to be passed to node's `net.Server#listen()`, for iisnode set this to `process.env.PORT`
            port: process.env.PORT
        },
5. Create a New Site in IIS7
Create a new site in IIS7 and point it to your Ghost folder.
After these steps, you should be able to set up Ghost within IIS using IISNode on your development machine. Since I set up the IIS site on my localhost using port 80, machines on the same network can access the development machine.
And you don't need to type npm start from the command line.
Conclusion
Ghost is a simple and powerful blogging platform built on Node.js. After installing Ghost, you can register as an admin user, configure email via Mailgun, and start editing content using Markdown. For Windows users, hosting Ghost through IISNode provides a convenient way to run the platform without manually starting Node.js from the command line.