Getting Started with Azure WebJob
Table of Contents
- How to Schedule an Azure WebJob
- Create Azure Account
- Create an ASP.NET Web Application
- Create WebJob
- Add WebJob to Web Application
- Deploy Web Application
- Verify and Run WebJob
- Call WebJob via Console App
- Setup a Scheduler for the WebJob
- Conclusion
- Reference
Introduction
Azure WebJob is a back-end program you can run inside Azure. This blog will show you how to deploy an Azure WebJob and how to set up a scheduler for it.
How to Schedule an Azure WebJob
Without Azure WebJob, you would deploy a Windows console app or Windows service app to your server, then set up a scheduler via Windows Scheduler or other third-party scheduling tools. The key technologies used are the following:
- Visual Studio 2015
- Azure WebJob
- Azure Scheduler Job Collections
- C# (6.0)
- ASP.NET Web Application
In the following example, we'll use Visual Studio 2015's ASP.NET template to create an ASP.NET web application. We'll also use Visual Studio 2015's Azure WebJob template to create an Azure WebJob. Then we'll deploy the ASP.NET web application and WebJob to Azure. At the end, we'll set up a scheduler for the deployed WebJob in Azure.
Create Azure Account
The first thing you have to do is create an Azure account. Azure has a free trial period which gives $200 to spend within the first month. Once you create the Azure account, you'll use the information for deployment.

Create an ASP.NET Web Application
You can create an MVC or Web API application. Use the ASP.NET template to create the web application.

Create WebJob
This is the key part of this blog. We'll use the Azure Cloud's Azure WebJob template to create the app.

Add WebJob to Web Application
Here, you'll add your WebJob to the ASP.NET web application. The reason we do this is that when you deploy the web application, Visual Studio will also deploy the associated WebJob to Azure as well.

The following is the example in the ASP.NET web application which specifies the WebJob's path.
{
  "$schema": "http://schemastore.org/schemas/json/webjobs-list.json",
  "WebJobs": [
    {
      "filePath": "../WebJob1/TN.PS.WebJob.csproj"
    }
  ]
}
Deploy Web Application
You can deploy the web application by clicking Publish and filling out all the information, or you could just deploy the WebJob project if you want.
Verify and Run WebJob
If you have not set up a scheduler but want to run the WebJob, you can either go to Azure or use Visual Studio's Server Explorer to run the WebJob.
The following is an example in Visual Studio 2015's Server Explorer. You can just right-click the WebJob and click Run.

The following is at the Azure Portal. Under your web application, find your WebJob and right-click Run.

Call WebJob via Console App
You can also call the Azure Cloud WebJob via C#. The following is example code showing how to call the Azure WebJob. It uses basic authentication. You don't have to provide that information for testing, but it is better for production for a more secure web application.
///
        /// following run on top of C# 6.0
        /// also require following azure App Service information
        ///
        private static void Test()
        {
            try
            {
                //App Service Publish Profile Credentials
                //userName
                string userName = "";
                //userPWD
                string userPassword = "";
                //change webJobName to your WebJob name
                string webJobName = "";
                // change to your azure host name
                string azureHostName = "";

                var unEncodedString = string.Format($"{userName}:{userPassword}");
                var encodedString = Convert.ToBase64String(System.Text.Encoding.ASCII.GetBytes(unEncodedString));

                //Change this URL to your WebApp hosting the
                string URL = "https://" + azureHostName + ".scm.azurewebsites.net/api/triggeredwebjobs/" + webJobName + "/run";
                System.Net.WebRequest request = System.Net.WebRequest.Create(URL);
                request.Method = "POST";
                request.ContentLength = 0;
                request.Headers["Authorization"] = "Basic " + encodedString;
                using (System.Net.WebResponse response = request.GetResponse())
                {
                    using (System.IO.Stream dataStream = response.GetResponseStream())
                    {
                        using (System.IO.StreamReader reader = new System.IO.StreamReader(dataStream))
                        {
                            string responseFromServer = reader.ReadToEnd();
                            Console.WriteLine("OK");
                        }
                    }
                }

            }
            catch (Exception ex)
            {
                Console.WriteLine(ex.Message.ToString());
            }
        }
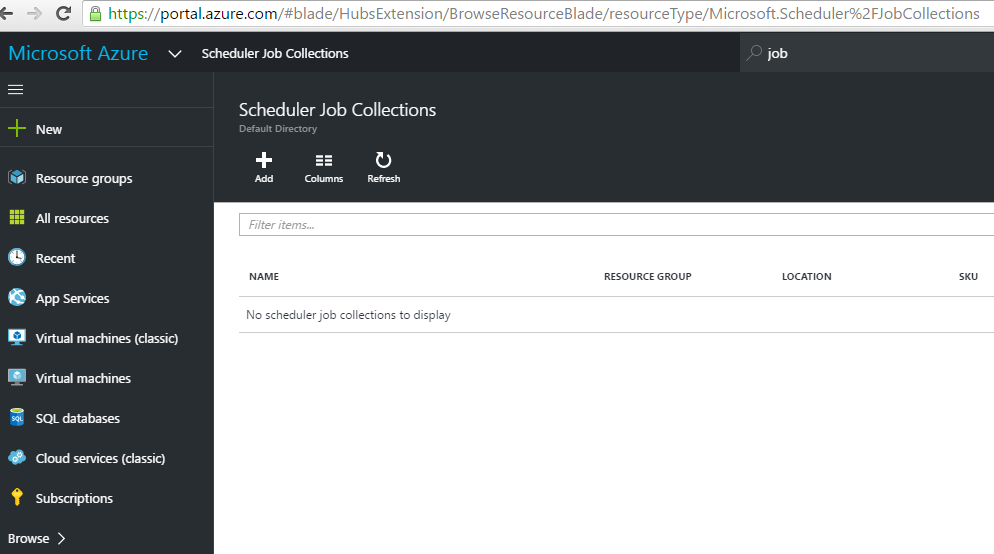
Setup a Scheduler for the WebJob
You can use Azure Scheduler Job Collections to create a scheduler.
Conclusion
Azure WebJob is a good option if you don't want to host a virtual machine but just want to deploy a web app with background tasks. It integrates well with Visual Studio for deployment and can be scheduled using Azure Scheduler Job Collections.
Reference
- Introducing Windows Azure WebJobs - Scott Hanselman
- Create a .NET WebJob in Azure App Service - Sample/Tutorial
- https://github.com/Azure/azure-content/blob/master/articles/app-service-web/websites-dotnet-webjobs-sdk-get-started.md
- Azure WebJobs documentation resources
- Simple Azure Website with WebJobs using the WebJobs SDK
- Set up the development environment
- Free trial note for Azure
- Queue-Centric Work Pattern
- SQL Database documentation